 打包发布
打包发布
# 打包发布
在发布上线前,我们需要执行构建打包,把.less、.vue、.js 相关资源进行编译打包,转成浏览器可以直接识别运行的普通 css、js、html
# yarn run build 或者 yarn build
npm run build
1
2
2
# 本地预览测试打包结果
不能直接本地双击打开 index.html 运行
将 dist 放到一个 web 服务器中运行测试如
- Ngxin
- Apache
- tomacat
- IIS
- Node.js
这里我们使用 Vue 官方推荐的 Serve https://cli.vuejs.org/zh/guide/deployment.html#% E9%80%9A% E7%94% A8% E6%8C%87% E5%8D%97
必须要打包后并且本地有 dist 目录
npm install -g serve # 全局安装的安装后不用安装
# -s 参数的意思是将其架设在 Single-Page Application 模式下
# 这个模式会处理即将提到的路由问题
serve -s dist  # 以管理员身份进行运行
1
2
3
4
2
3
4
# GitHub Pages
# GitHub 域名
每个用户提供了免费的域名
- 用户名.github.io/ 仓库名 /
如果想要忽略后面的仓库名参数 如:用户.github.io, 则需要把仓库名命名为 用户名.github.io ,GitHub 默认会自动给这个仓库托管,有且只能有一个,这个仓库,因为每个用户只有一个域名。
# 自定义域名
- 域名后台添加一个 CNAME 记录
- 在项目中添加一个 CNAME 文件,并填入自定义域名地址
# 将我们的项目部署到 GitHub pages
因为项目中接口都是 http 协议,而 GitHub 上强制开启 https, 在 https 中无法发出 http 请求,所以我们要准备一个自己的域名才能使用 htpp 或 htpps
映射 CNAME 记录到 github 项目中
生成令牌
- 用户设置
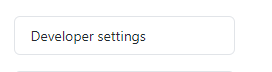 开发者选项
开发者选项
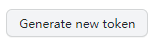 生成密钥
生成密钥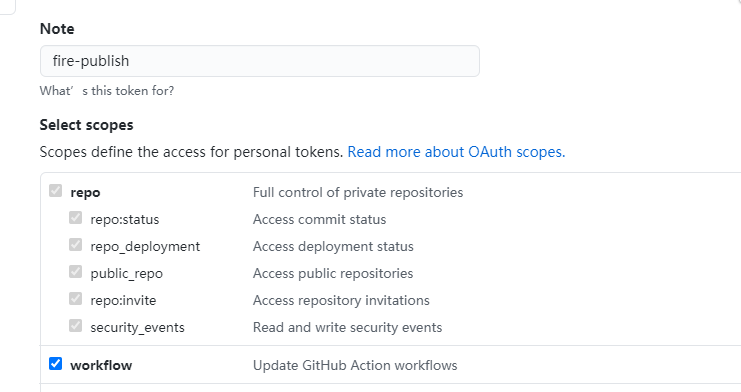
- 生成 复制 token
推送并在项目中设置中设置 secret 把生成的令牌复制到新建的 secret 中

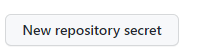
- NAME: ACCESS_TOKEN TOKEN: TOKEN
在项目中添加
.github/workflow/mian.ymlname: build and deploy # 当 master 分支 push 代码的时候触发 workflow on: push: branches: - master jobs: build-deploy: runs-on: ubuntu-latest steps: # 下载仓库代码 - uses: actions/checkout@v2 # 缓存依赖 - name: Get yarn cache id: yarn-cache run: echo "::set-output name=dir::$(yarn cache dir)" - uses: actions/cache@v1 with: path: ${{ steps.yarn-cache.outputs.dir }} key: ${{ runner.os }}-yarn-${{ hashFiles('**/yarn.lock') }} restore-keys: | ${{ runner.os }}-yarn- # 安装依赖 - run: yarn # 打包构建 - run: yarn build # 发布到 GitHub Pages - name: Deploy uses: peaceiris/actions-gh-pages@v2 env: PERSONAL_TOKEN: ${{ secrets.ACCESS_TOKEN }} # 访问秘钥 PUBLISH_BRANCH: gh-pages # 推送分支 PUBLISH_DIR: ./dist # 部署目录1
2
3
4
5
6
7
8
9
10
11
12
13
14
15
16
17
18
19
20
21
22
23
24
25
26
27
28
29
30
31
32
33
34
35
36
37
38
39
40GitHub Action 工作流
public 中 添加 CNAME 自定义域名的域名
编辑 (opens new window)
上次更新: 2023/12/06, 01:31:48