 环境搭建
环境搭建
# 环境搭建
# Gradle
# 下载安装
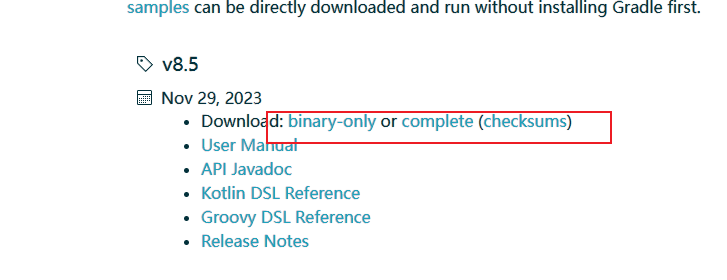
下载 https://gradle.org/releases/
解压到磁盘
配置环境变量
GRADLE_HOME = D:\compile\gradle-6.8.3
用于存放 gradle 本地仓库的 GRADLE_USER_HOME = D:\compile\gradle-6.8.3\gradle
PATH = %GRADLE_HOME%\bin

# 配置下载加速
Gradle 还是从 maven 仓库下载的。
给 gradle 安装目录下 init.d 文件夹,放一个 init.gradle 文件,内容如下:
gradle.projectsLoaded {
    rootProject.allprojects {
        buildscript {
            repositories {
                def JCENTER_URL = 'https://maven.aliyun.com/repository/jcenter'
                def GOOGLE_URL = 'https://maven.aliyun.com/repository/google'
                def NEXUS_URL = 'https://maven.aliyun.com/nexus/content/repositories/jcenter'
                all { ArtifactRepository repo ->
                    if (repo instanceof MavenArtifactRepository) {
                        def url = repo.url.toString()
                        if (url.startsWith('https://jcenter.bintray.com/')) {
                            project.logger.lifecycle "Repository ${repo.url} replaced by $JCENTER_URL."
                            println("buildscript ${repo.url} replaced by $JCENTER_URL.")
                            remove repo
                        }
                        else if (url.startsWith('https://dl.google.com/dl/android/maven2/')) {
                            project.logger.lifecycle "Repository ${repo.url} replaced by $GOOGLE_URL."
                            println("buildscript ${repo.url} replaced by $GOOGLE_URL.")
                            remove repo
                        }
                        else if (url.startsWith('https://repo1.maven.org/maven2')) {
                            project.logger.lifecycle "Repository ${repo.url} replaced by $REPOSITORY_URL."
                            println("buildscript ${repo.url} replaced by $REPOSITORY_URL.")
                            remove repo
                        }
                    }
                }
                jcenter {
                    url JCENTER_URL
                }
                google {
                    url GOOGLE_URL
                }
                maven {
                    url NEXUS_URL
                }
            }
        }
        repositories {
            def JCENTER_URL = 'https://maven.aliyun.com/repository/jcenter'
            def GOOGLE_URL = 'https://maven.aliyun.com/repository/google'
            def NEXUS_URL = 'https://maven.aliyun.com/nexus/content/repositories/jcenter'
            all { ArtifactRepository repo ->
                if (repo instanceof MavenArtifactRepository) {
                    def url = repo.url.toString()
                    if (url.startsWith('https://jcenter.bintray.com/')) {
                        project.logger.lifecycle "Repository ${repo.url} replaced by $JCENTER_URL."
                        println("buildscript ${repo.url} replaced by $JCENTER_URL.")
                        remove repo
                    }
                    else if (url.startsWith('https://dl.google.com/dl/android/maven2/')) {
                        project.logger.lifecycle "Repository ${repo.url} replaced by $GOOGLE_URL."
                        println("buildscript ${repo.url} replaced by $GOOGLE_URL.")
                        remove repo
                    }
                    else if (url.startsWith('https://repo1.maven.org/maven2')) {
                        project.logger.lifecycle "Repository ${repo.url} replaced by $REPOSITORY_URL."
                        println("buildscript ${repo.url} replaced by $REPOSITORY_URL.")
                        remove repo
                    }
                }
            }
            jcenter {
                url JCENTER_URL
            }
            google {
                url GOOGLE_URL
            }
            maven {
                url NEXUS_URL
            }
        }
    }
}
2
3
4
5
6
7
8
9
10
11
12
13
14
15
16
17
18
19
20
21
22
23
24
25
26
27
28
29
30
31
32
33
34
35
36
37
38
39
40
41
42
43
44
45
46
47
48
49
50
51
52
53
54
55
56
57
58
59
60
61
62
63
64
65
66
67
68
69
70
71
72
73
74
当然也可以使用我们原来我们安装了 maven,有 maven_home,就可以使用 maven 的设置
// 在项目 build.gradle文件中设置如下
repositories {  //仓库管理
    mavenLocal()   //优先使用本地maven的仓库设置
    mavenCentral()
}
2
3
4
5
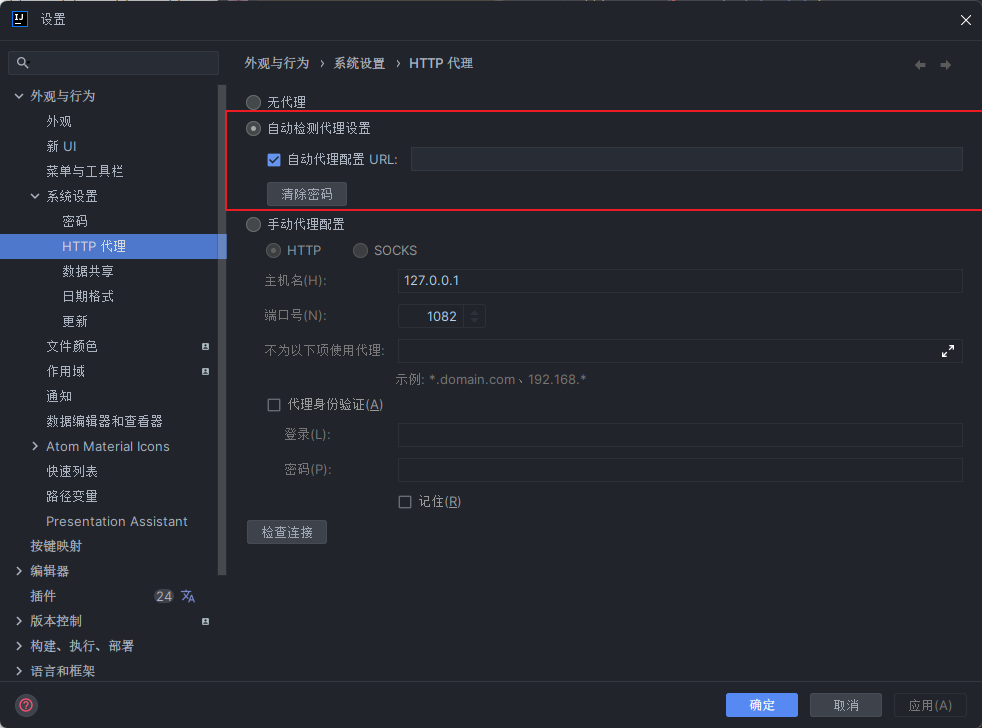
如遇到无法下载的依赖我们也可以开始 idea 的代理
# idea 整合
# 搭建 Spring 源码工程
Spring 在 github 上的仓库地址是:https://github.com/spring-projects/spring-framework
Spring 在码云上的仓库地址是:https://gitee.com/mirrors/Spring-Framework
或者自己同步源码
复制老师仓库的 https://gitee.com/leifengyang/spring-framework.git
Spring 导入到总工程中。使用 gradle 导入。
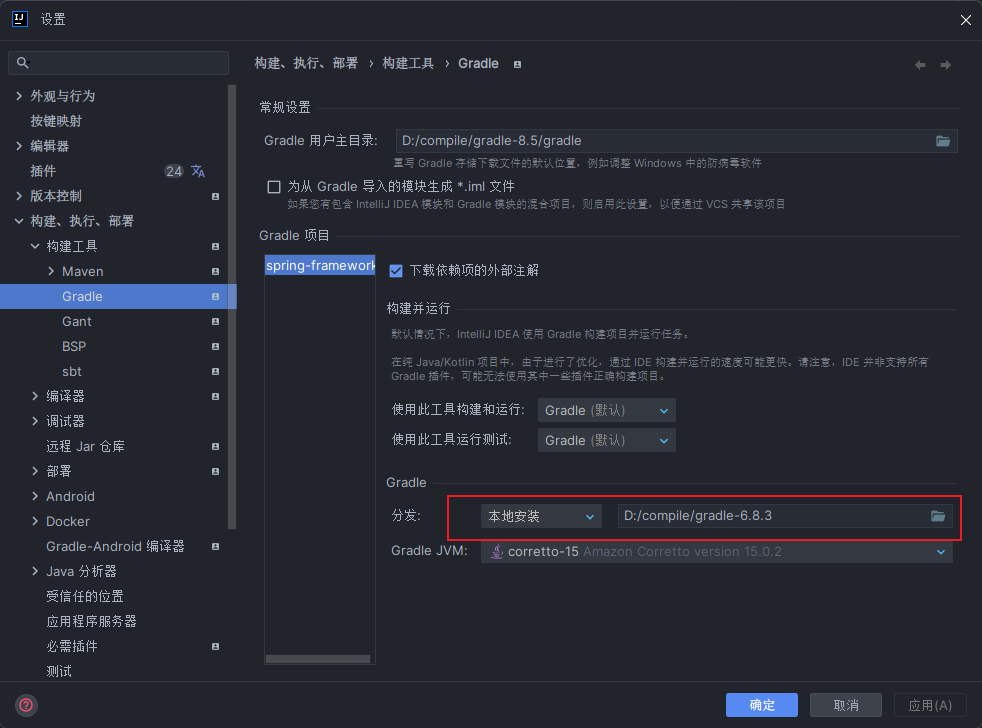
使用 idea 打开项目,然更改 gradle 配置,更改下面分发选项,为本地 gradle
注意要使用 gradle6.8.3 以及 JDK15 版本,如你在 github 上拉取最新的请使用 jdk17+gradle8.5
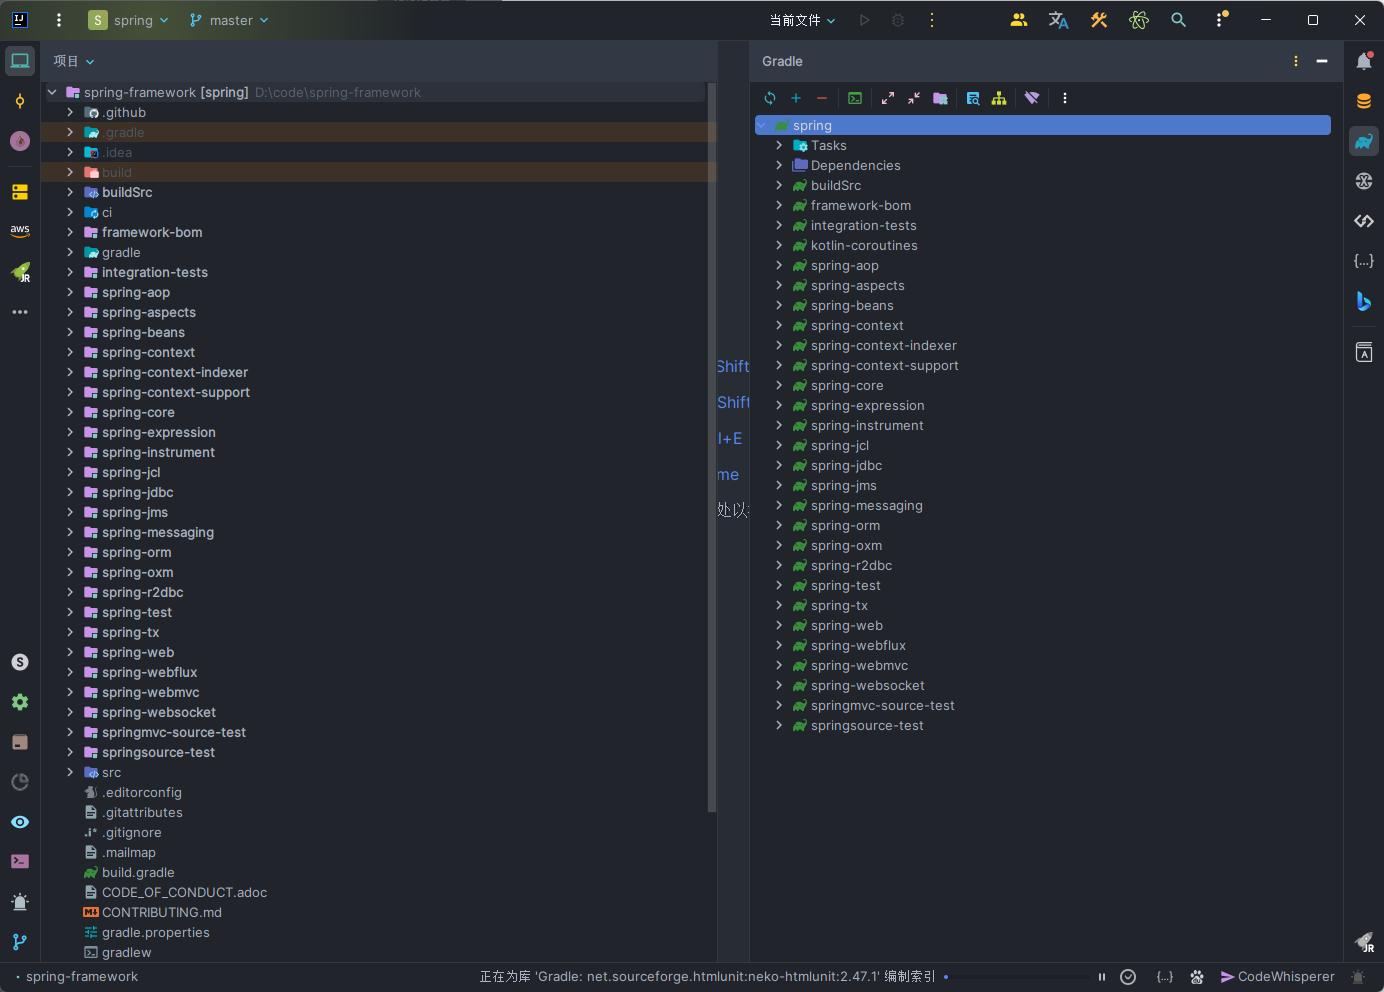
依赖加载后完效果
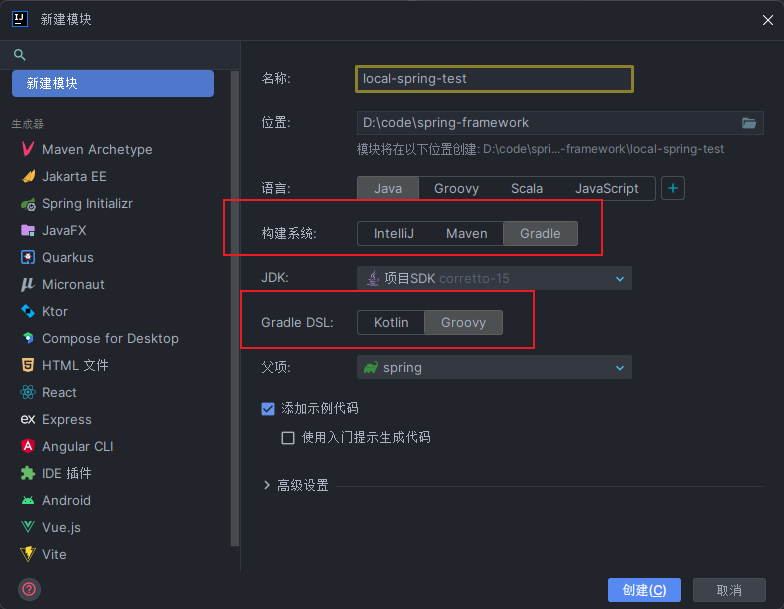
# 创建自己的测试工程
在 spring-framework 父工程写创建 local-spring-test 模块,注意创建模块时要选择 gradle 作为构建
编辑 build.gradle 添加子模块依赖才能使用 spring 下其他模块中的内容,比如引入 spring-context 模块
dependencies {
    testImplementation(platform("org.junit:junit-bom:5.9.1"))
    testImplementation("org.junit.jupiter:junit-jupiter")
	compile(project(":spring-context"))
}
2
3
4
5
如是 gradle8.5 compile 已经删除,可以使用 implementation
dependencies {
    testImplementation(platform("org.junit:junit-bom:5.9.1"))
    testImplementation("org.junit.jupiter:junit-jupiter")
	implementation project(":spring-context")
}
2
3
4
5
# idea 输出控制台乱码
打开 idea 自定义虚拟机选项
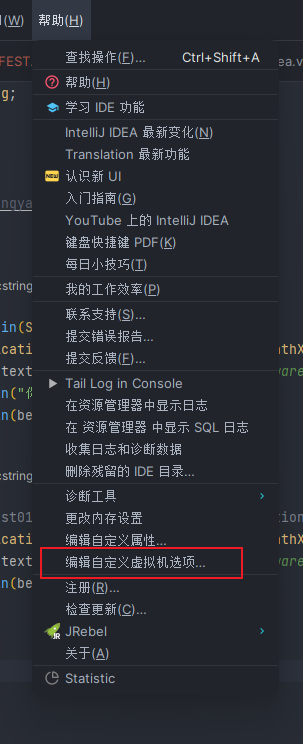
添加键值对
-Dfile.encoding=UTF-8