 ConfigMap & Secret
# ConfigMap & Secret
数据库连接地址,这种可能根据部署环境变化的,我们不应该写死在代码里。
# ConfigMap
Kubernetes 为我们提供了 ConfigMap,可以方便的配置一些变量。文档 (opens new window)
ConfigMap API 给我们提供了向容器中注入配置信息的机制,ConfigMap 可以被用来保存单个属性,也 可以用来保存整个配置文件或者 JSON 二进制对象
configmap.yaml
apiVersion: v1
kind: ConfigMap
metadata:
name: mongo-config
data:
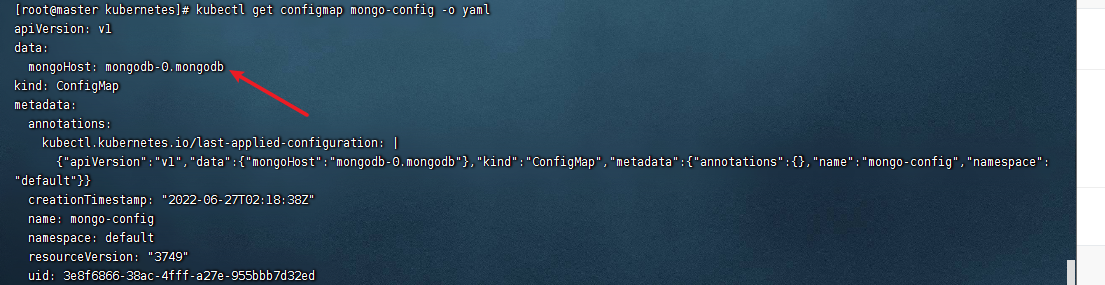
mongoHost: mongodb-0.mongodb:27017
2
3
4
5
6
应用配置
# 应用
kubectl apply -f configmap.yaml
# 查看
kubectl get configmap mongo-config -o yaml
2
3
4
还能以目录、文件等方式创建
# 目录
ls docs/user-guide/configmap/kubectl/
game.properties
ui.properties
2
使用该目录创建 configmap
kubectl create configmap game-config --from-file=docs/user-guide/configmap/kubectl
-from-file 指定在目录下的所有文件都会被用在 ConfigMap 里面创建一个键值对,键的名字就是文件名,值就是文件的内容
# 文件
只要指定为一个文件就可以从单个文件中创建 ConfigMap
kubectl create configmap game-config-2 --from-file=docs/user-guide/configmap/kubectl/game.properties
kubectl get configmaps game-config-2 -o yaml
2
-from-file 这个参数可以使用多次,你可以使用两次分別指定上个实例中的那两个配置文件,效果就跟指定整个 目录是一样的
# 字面量
使用文字值创建,利用 - from-literal 参数传递配置信息,该参数可以使用多次,格式如下
kubectl create configmap special-config --from-literal=special.how=very --from-literal=special.type=charm
kubectl get configmaps special-config -o yaml
2
# Secret
Secret 解决了密码、token、密钥等敏感数据的配置问题,而不需要把这些敏感数据暴露到镜像或者 Pod Spec 中。Secret 可以以 Volume 或者环境变量的方式使用
一些重要数据,例如密码、TOKEN,我们可以放到 secret 中。文档 (opens new window),配置证书 (opens new window)
Secret 有三种类型
- Service Account : 用来访问 Kubernetes API, 由 Kubernetes 自动创建,并且会自动挂载到 Pod 的
/run/secrets/kubernetes.io/serviceaccount目录中 - Opaque : base64 编码格式的 Secret, 用来存储密码、密钥等
- kubernetes.io/dockerconfigjson :用来存储私有 docker registry 的认证信息
# Opaque
注意,数据要进行 Base64 编码。Base64 工具 (opens new window)
或者使用 linux 的管道符
echo -n "admin" | base641
secret.yaml
apiVersion: v1
kind: Secret
metadata:
name: mongo-secret
# Opaque 用户定义的任意数据,更多类型介绍 https://kubernetes.io/zh/docs/concepts/configuration/secret/#secret-types
type: Opaque
data:
# 数据要 base64。https://tools.fun/base64.html
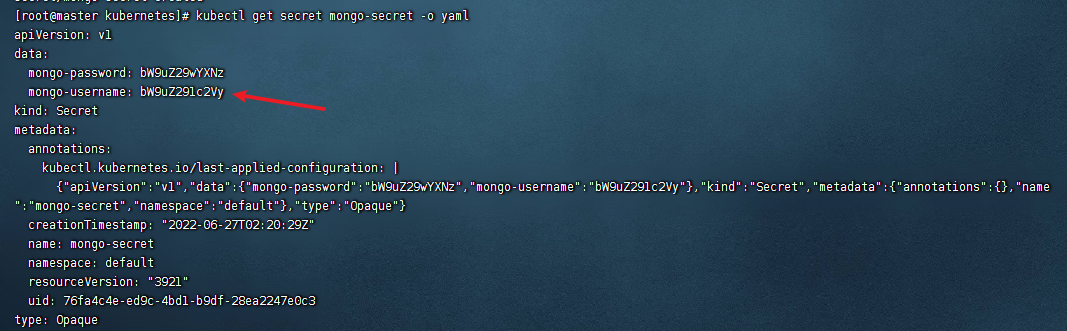
mongo-username: bW9uZ291c2Vy
mongo-password: bW9uZ29wYXNz
2
3
4
5
6
7
8
9
10
应用配置
# 应用
kubectl apply -f secret.yaml
# 查看
kubectl get secret mongo-secret -o yaml
2
3
4
# DockerConfigJson
使用 Kuberctl 创建 docker registry 认证的 secret
kubectl create secret docker-registry secret-tiger-docker \
  --docker-email=[email protected] \
  --docker-username=tiger \
  --docker-password=pass1234 \
  --docker-server=my-registry.example:5000
2
3
4
5
此命令创建一个类型为 kubernetes.io/dockerconfigjson 的 Secret。
kubectl get secret secret-tiger-docker -o jsonpath='{.data.*}' | base64 -d
{
  "auths": {
    "my-registry.example:5000": {
      "username": "tiger",
      "password": "pass1234",
      "email": "[email protected]",
      "auth": "dGlnZXI6cGFzczEyMzQ="
    }
  }
}
2
3
4
5
6
7
8
9
10
在创建 Pod 的时候,通过 imagePullSecrets 来引用刚创建的 myregistrykey
apiVersion: v1
kind: Pod
metadata:
  name: foo
spec:
  containers:
  - name: foo
    image: roc/awangyang:v1
  imagePullSecrets:
  - name: secret-tiger-docker
2
3
4
5
6
7
8
9
10
# 使用方法
我们定义了这些变量 如何来使用呢
# 作为环境变量
apiVersion: apps/v1
kind: StatefulSet
metadata:
  name: mongodb
spec:
  replicas: 3
  selector:
    matchLabels:
      app: mongodb
  template:
    metadata:
      labels:
        app: mongodb
    spec:
      containers:
        - name: mongo
          image: mongo:4.4
          # IfNotPresent 仅本地没有镜像时才远程拉,Always 永远都是从远程拉,Never 永远只用本地镜像,本地没有则报错
          command: ["/bin/sh", "-c", "echo $(MONGO_INITDB_ROOT_USERNAME)"] # 可以在命令中引用secret
          imagePullPolicy: IfNotPresent
          env:
          - name: MONGO_INITDB_ROOT_USERNAME
            valueFrom:
              secretKeyRef:
                name: mongo-secret
                key: mongo-username
          - name: MONGO_INITDB_ROOT_PASSWORD
            valueFrom:
              secretKeyRef:
                name: mongo-secret
                key: mongo-password
          - name: MONGO_ADDRESS
            valueFrom:
              configMapKeyRef:
                name: mongo-config
                key: mongoHost
          # Secret 的所有数据定义为容器的环境变量,Secret 中的键名称为 Pod 中的环境变量名称
          # envFrom:
          # - secretRef:
          #     name: mongo-secret
2
3
4
5
6
7
8
9
10
11
12
13
14
15
16
17
18
19
20
21
22
23
24
25
26
27
28
29
30
31
32
33
34
35
36
37
38
39
40
# 挂载为文件
适合证书文件
挂载后,会在容器中对应路径生成文件,一个 key 一个文件,内容就是 value,文档 (opens new window)
apiVersion: v1
kind: Pod
metadata:
  name: mypod
spec:
  containers:
  - name: mypod
    image: redis
    volumeMounts:
    - name: foo
      mountPath: "/etc/foo"
      readOnly: true
  volumes:
  - name: foo
    secret:
      secretName: mysecret
2
3
4
5
6
7
8
9
10
11
12
13
14
15
16
# 滚动更新
更新 ConfigMap 后,等待大概 10 秒钟时间 POD 中的变量会热更新
但是更新 ConfigMap 目前并不会触发相关 Pod 的滚动更新,可以通过修改 pod annotations 的方式强制触发滚动更新
kubectl patch deployment my-nginx --patch '{"spec": {"template": {"metadata":{"annotations": {"version/config": "20190411" }}}}}'
这个例子里我们在 .spec.template.metadata.annotations 中添加 version/config , 每次通过修改 version/config 来触发滚动更新更新 ConfigMap 后:
- 使用该 ConfigMap 挂载的 Env 不会同步更新
- 使用该 ConfigMap 挂载的 Volume 中的数据需要一段时间(实测大概 10 秒)才能同步更新